The layer position configuration defines where objects will be displayed in a visualization. Hopara supports 3 different position modes described below.
Use this option when you have the location data in your dataset.
This option can be used, for example, if you’re feeding a database with lat/long coordinates from real-time asset tracking.
| Asset | Current Lat | Current Long |
| Freezer | 37.40 | -116.18 |
| Incubator | 35.22 | -114.23 |
| Refrigerator | 36.10 | -115.275 |
Use this option to define the object position on the screen using Hopara. After this option is set, the layer will be listed in objects where you can set each row’s position. This can be accomplished by either dragging and dropping rows on the visualization or using your current GPS coordinates (available on mobile devices only).
The positions are saved internally and referenced by the query primary key field.
You can set a layer to inherit the position configuration from another layer. Below we describe a few scenarios where this is helpful.
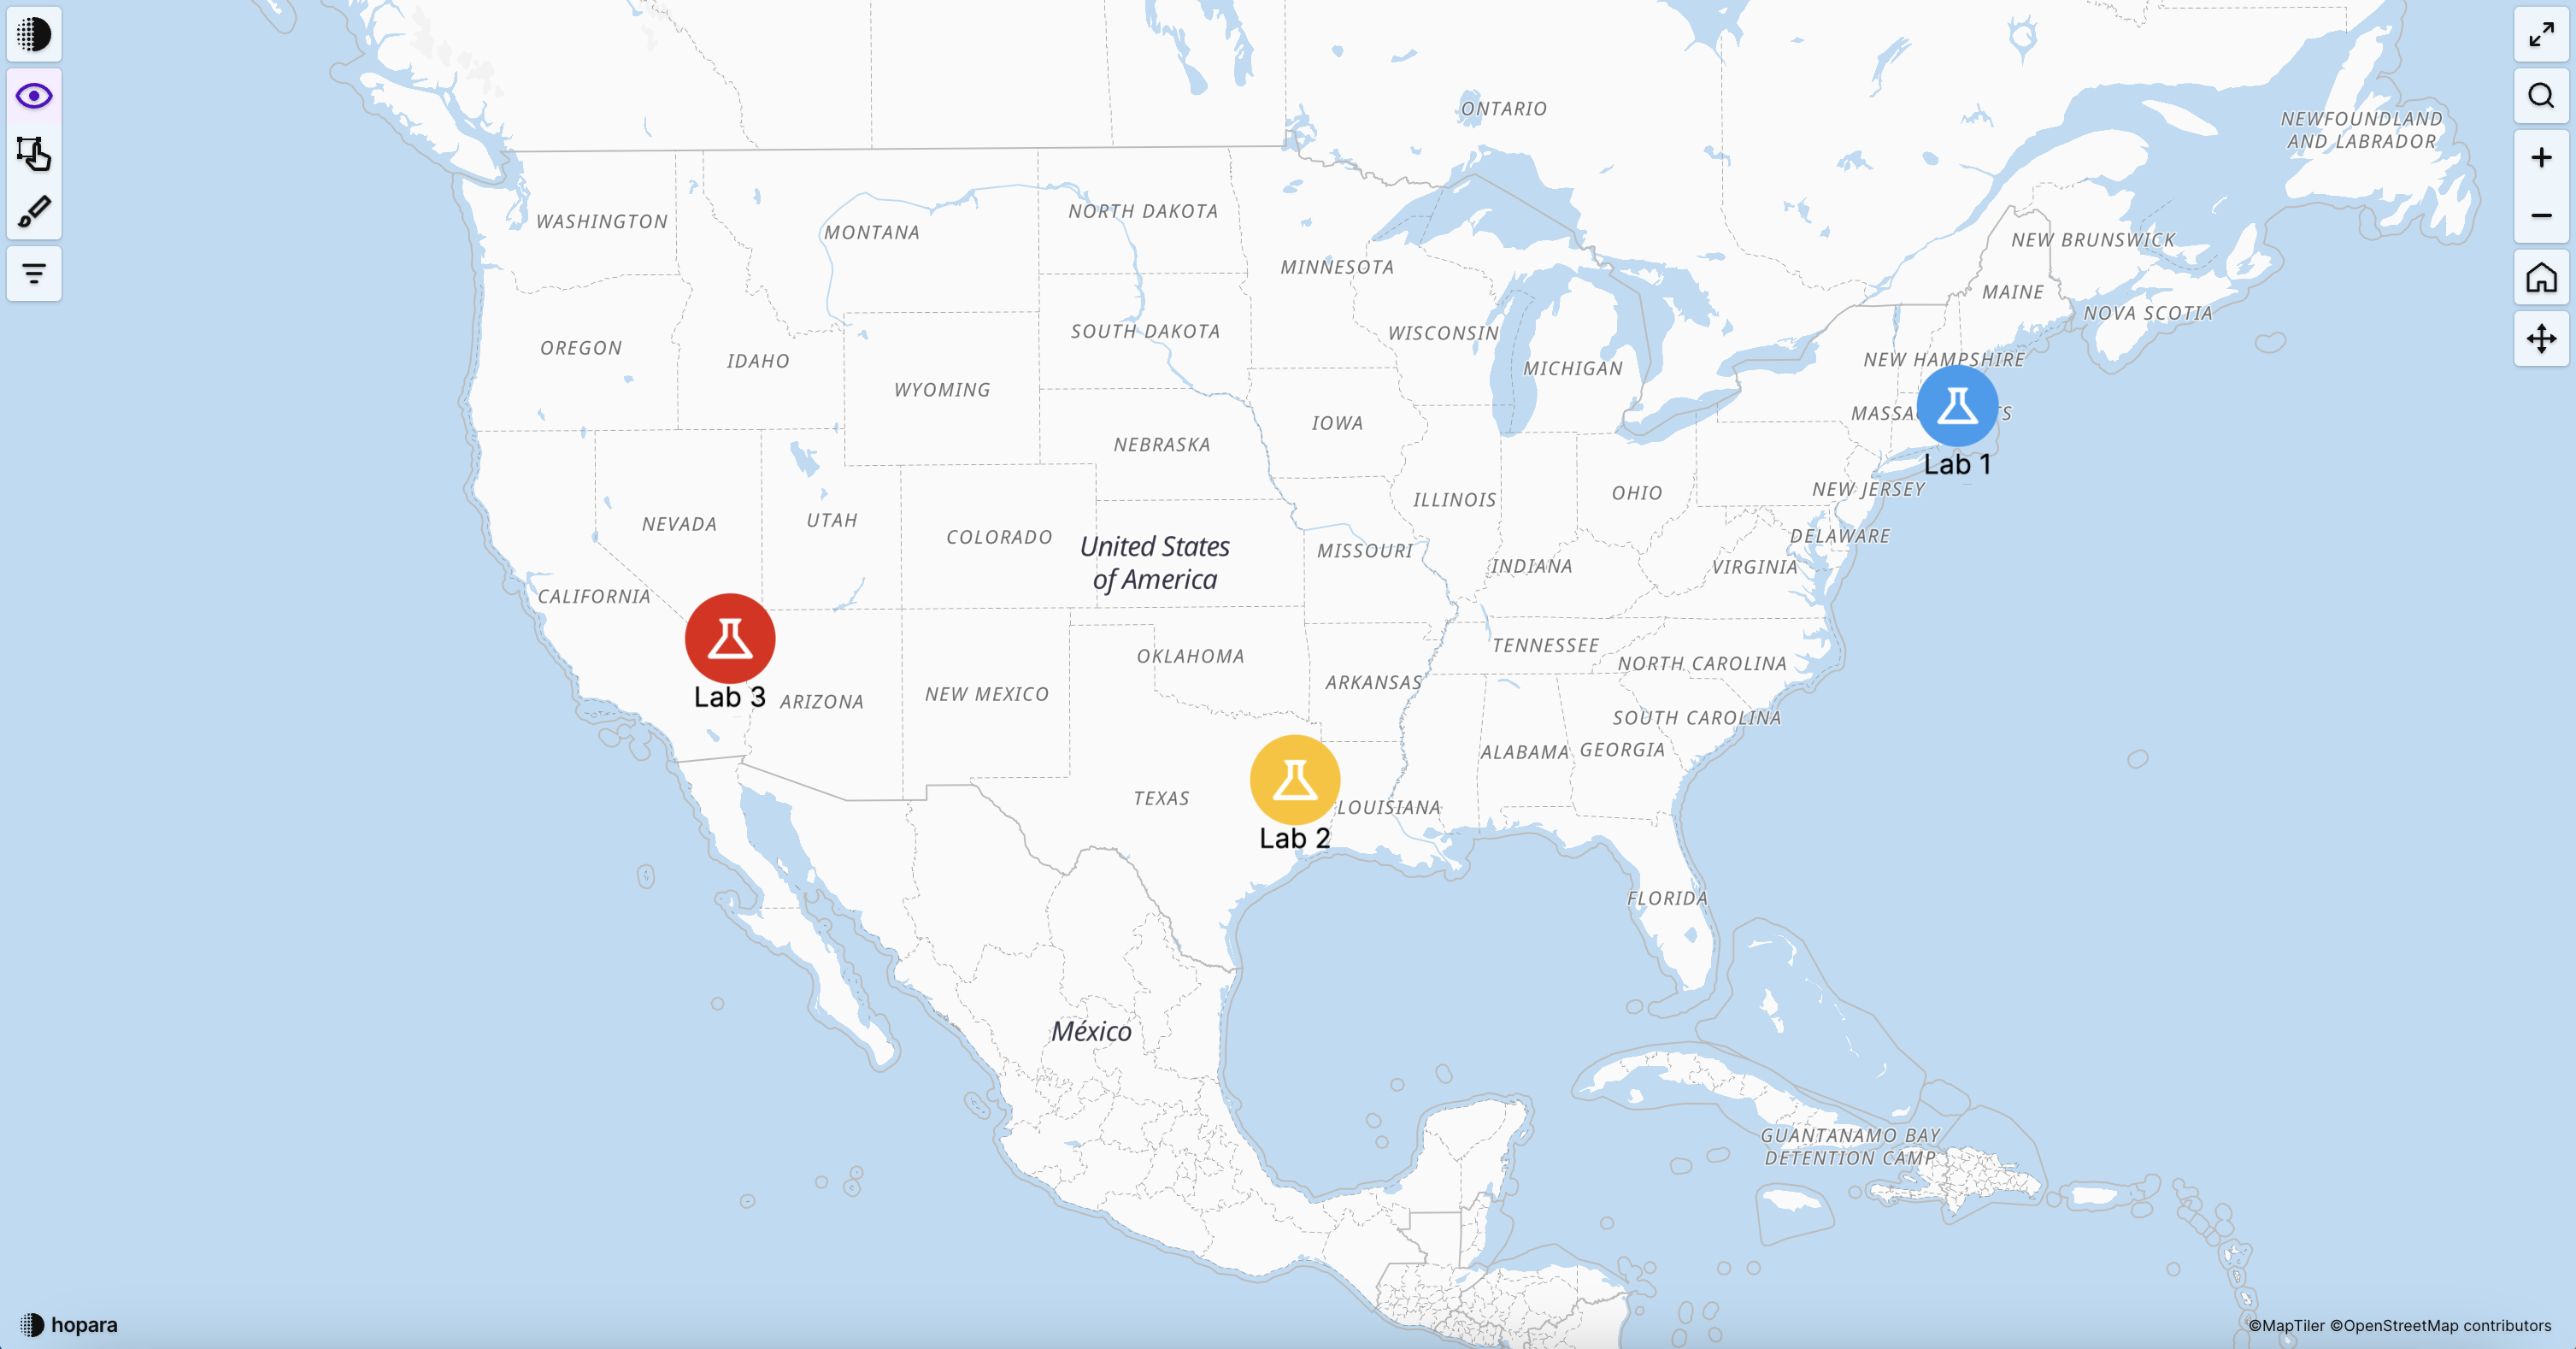
Let’s say we have two floorplan images in different distant locations. When the user zooms out the floorplans become so small that they become almost invisible. To aid the user navigation we can create an icon layer that references the floorplan layer position.
Adding a fit-to-screen action to the icon layer allows the user to navigate to the floorplan by clicking on the icon.
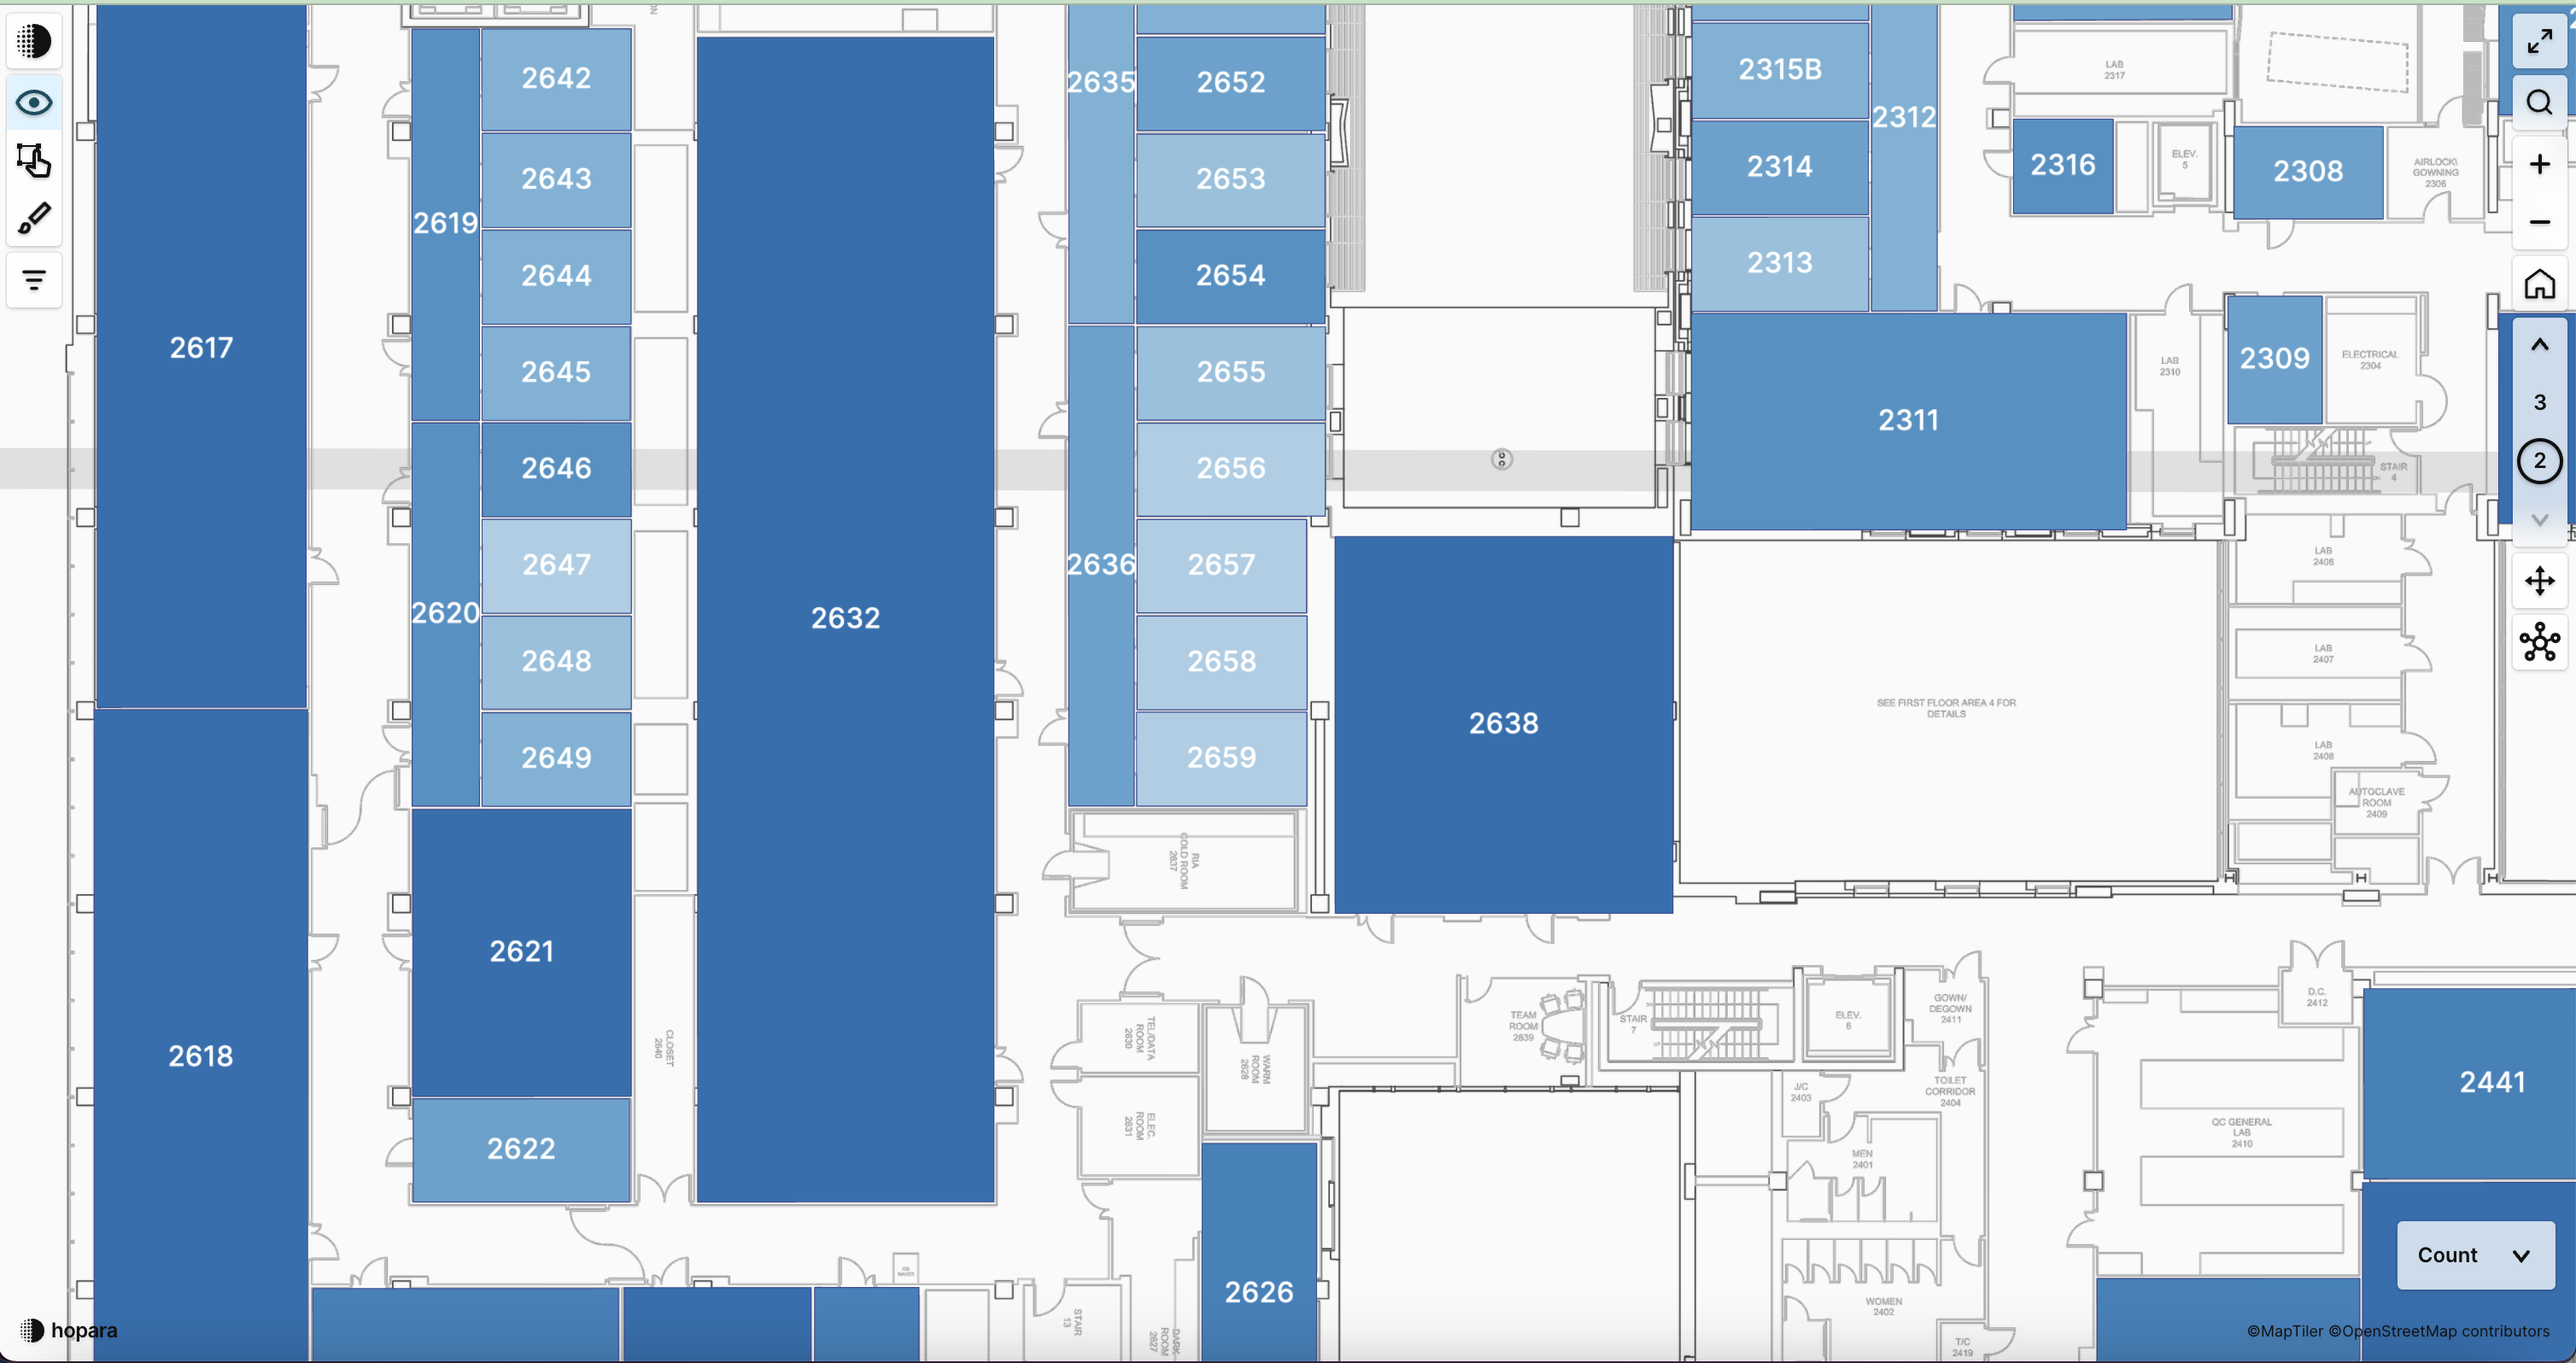
Let’s say we have a visualization showing the room outline and we want also to display the room name. We can create a text layer that references the room outline layer position. The text will be automatically centered in the room.